
Ice Barrel 500
- Description
- Specifications
- Shipping
- Set up
- Installation
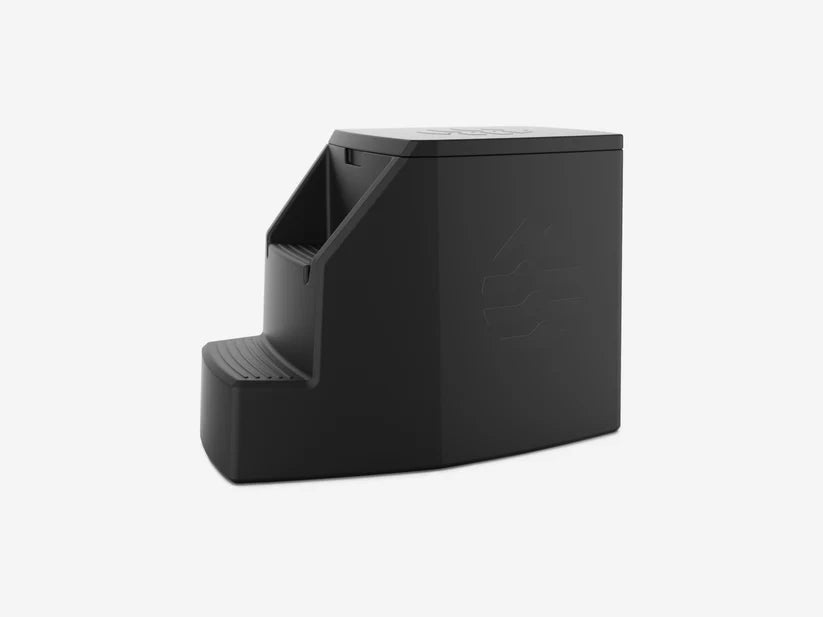
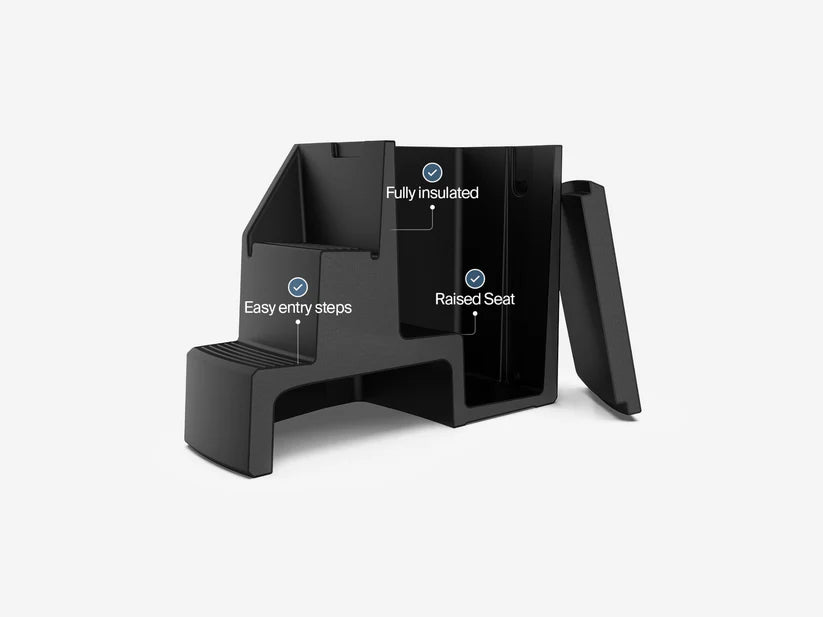
Fully insulated – Whether you’re using ice or a chiller, the thick polyurethane foam insulation throughout the barrel and lid helps keep your water colder for longer, especially in warm weather.
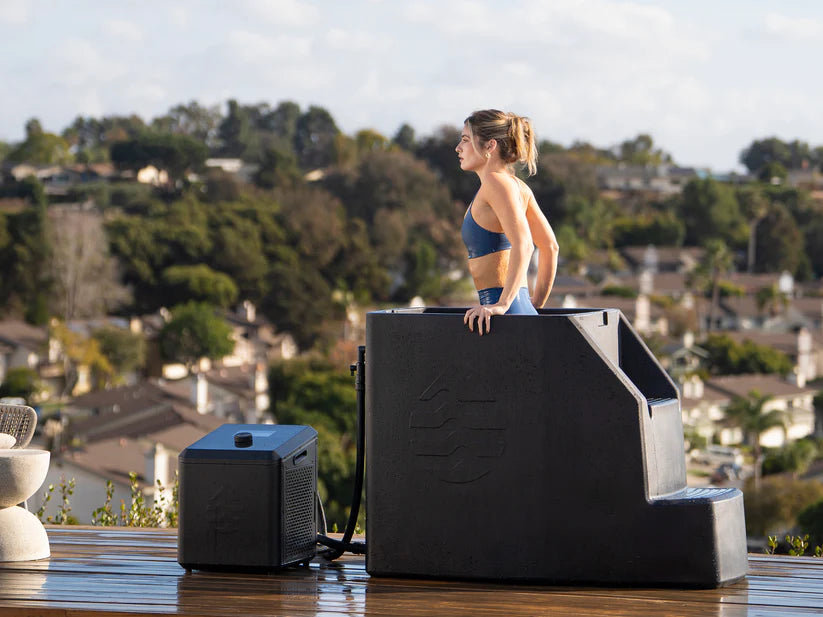
Spacious upright position – With an integrated seat and generous interior space, the Ice Barrel 500 allows you to enjoy a comfortable, upright seated position. This allows you to easily submerge up to your neck for maximum full-body benefit.
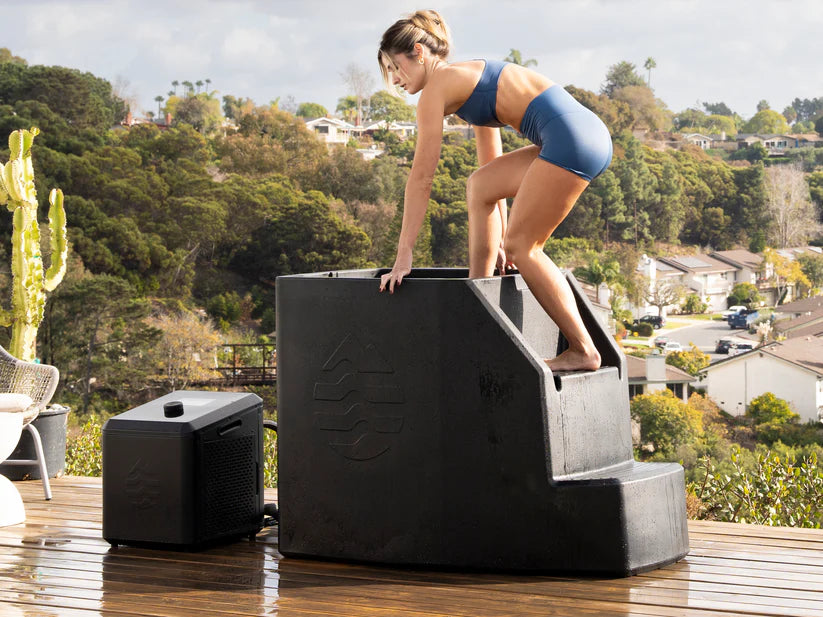
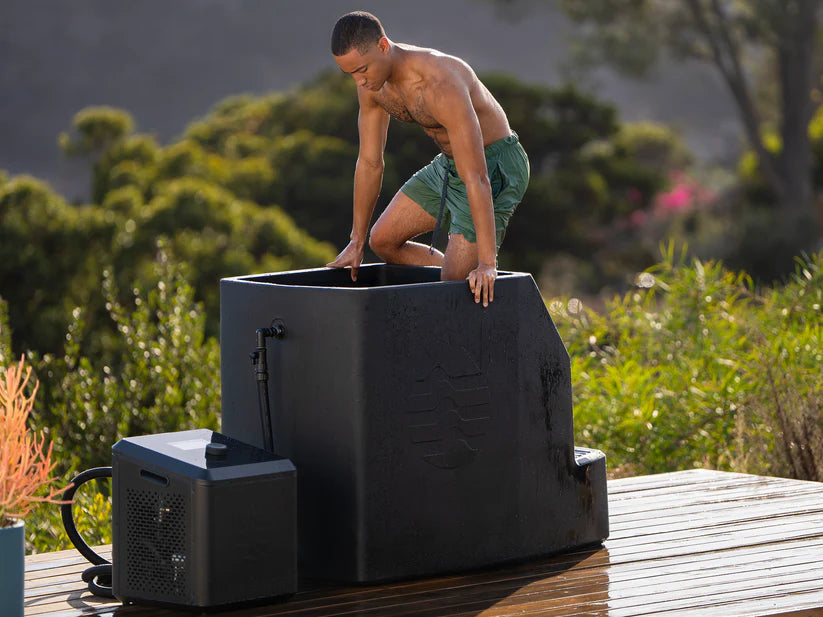
Easy entry/exit – The Ice Barrel 500 has built-in steps and an internal seat that make it easy to enter and exit.
- Made in the USA from recycled materials
- Limited lifetime warranty
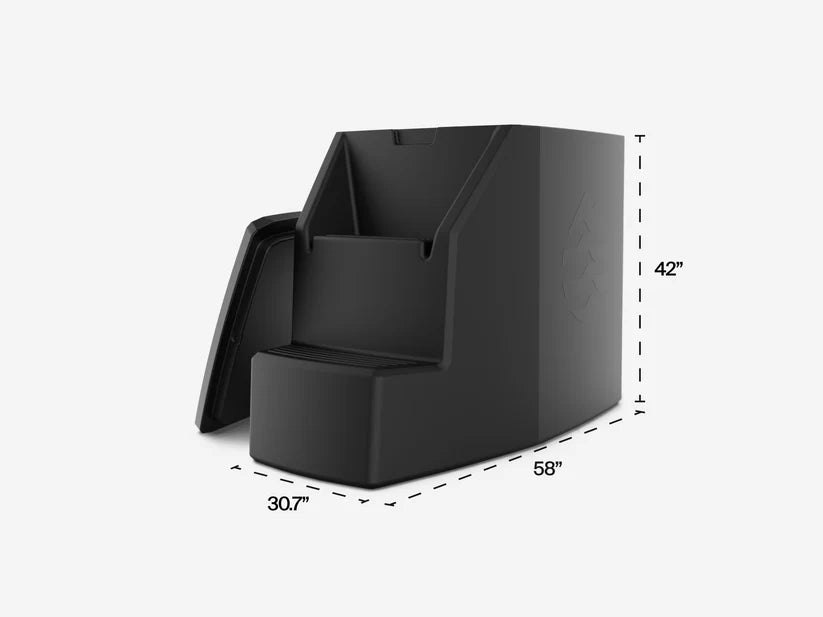
- W 30.7” x H 42.1” x L 57.6”
- Holds 356 liters (94 gallons)
- 104 lbs. when empty
- Max person height - comfortably fits body sizes up to 6'9"
- Chiller ports are 3/4″ NPT with 14 TPI
- Patent pending
- Drain spout assembly required
- Does NOT include wrenches as seen in the Replacement Parts Kit
Delivered within 6-9 business days.
Shipping cost calculated at checkout.
Setting Up Your Ice Barrel
Drain Spout & Plug Installation Instructions
Preparation:
- No tools are required for this process if you purchased a new Ice Barrel 300 or Ice Barrel 500 and are installing the drain spout for the first time. If you purchased a Replacement Parts Kit, use the hardware and wrenches provided with the kit, as shown in the video.
- Begin by locating the provided drain spout and plug.
Thread Tape Application:
- Apply 3-5 wraps of the provided thread tape to the drain spout & plug’s threads, wrapping clockwise.
Install the Drain Spout:
- Locate the bottom bulkhead of your Ice Barrel where the drain spout will be installed.
- Carefully start threading the drain spout into the port by hand.
- Tighten the spout as much as possible by hand to ensure a snug fit. Ensure the shut-off valve is oriented upwards for easy access.
- If you choose to use a tool for additional tightening, do so with caution. Tighten no more than a ¼-½ turn more to prevent over-tightening.
Install the Plug:
- Move to the top bulkhead of the Ice Barrel, where the plug will be installed.
- Similar to the drain spout, start threading the plug into the bulkhead at the top by hand.
- Ensure the plug is as tight as possible by hand, creating a secure seal.
- If you choose to use a tool for additional tightening, do so with caution. Tighten no more than a ¼-½ turn more to prevent over-tightening.
Final Checks:
- Once both the drain spout and plug are installed, It’s time to fill it up and check to see that there are no leaks.
- If there are any leaks, you may need to tighten the fitting ¼-½ turn more.
- If there are no leaks, your Ice Barrel is now ready to enjoy.

Choose options


- Description
- Specifications
- Shipping
- Set up
- Installation
Fully insulated – Whether you’re using ice or a chiller, the thick polyurethane foam insulation throughout the barrel and lid helps keep your water colder for longer, especially in warm weather.
Spacious upright position – With an integrated seat and generous interior space, the Ice Barrel 500 allows you to enjoy a comfortable, upright seated position. This allows you to easily submerge up to your neck for maximum full-body benefit.
Easy entry/exit – The Ice Barrel 500 has built-in steps and an internal seat that make it easy to enter and exit.
- Made in the USA from recycled materials
- Limited lifetime warranty
- W 30.7” x H 42.1” x L 57.6”
- Holds 356 liters (94 gallons)
- 104 lbs. when empty
- Max person height - comfortably fits body sizes up to 6'9"
- Chiller ports are 3/4″ NPT with 14 TPI
- Patent pending
- Drain spout assembly required
- Does NOT include wrenches as seen in the Replacement Parts Kit
Delivered within 6-9 business days.
Shipping cost calculated at checkout.
Setting Up Your Ice Barrel
Drain Spout & Plug Installation Instructions
Preparation:
- No tools are required for this process if you purchased a new Ice Barrel 300 or Ice Barrel 500 and are installing the drain spout for the first time. If you purchased a Replacement Parts Kit, use the hardware and wrenches provided with the kit, as shown in the video.
- Begin by locating the provided drain spout and plug.
Thread Tape Application:
- Apply 3-5 wraps of the provided thread tape to the drain spout & plug’s threads, wrapping clockwise.
Install the Drain Spout:
- Locate the bottom bulkhead of your Ice Barrel where the drain spout will be installed.
- Carefully start threading the drain spout into the port by hand.
- Tighten the spout as much as possible by hand to ensure a snug fit. Ensure the shut-off valve is oriented upwards for easy access.
- If you choose to use a tool for additional tightening, do so with caution. Tighten no more than a ¼-½ turn more to prevent over-tightening.
Install the Plug:
- Move to the top bulkhead of the Ice Barrel, where the plug will be installed.
- Similar to the drain spout, start threading the plug into the bulkhead at the top by hand.
- Ensure the plug is as tight as possible by hand, creating a secure seal.
- If you choose to use a tool for additional tightening, do so with caution. Tighten no more than a ¼-½ turn more to prevent over-tightening.
Final Checks:
- Once both the drain spout and plug are installed, It’s time to fill it up and check to see that there are no leaks.
- If there are any leaks, you may need to tighten the fitting ¼-½ turn more.
- If there are no leaks, your Ice Barrel is now ready to enjoy.

Recovery Solutions
Nationwide Shipping & Handling
Real-time tracking updates.
Exceptional Customer Support
We are available 7 days a week to answer your questions
Secure Payments & Financing Options
SSL-encrypted checkout with secure payment gateways.
Featured collection

